
How to Melt Chocolate in the Microwave Perfectly (Without Seizing)
We have all been there. You are in the middle of baking a batch of brownies or making chocolate-dipped strawberries. You put a bowl of expensive chocolate chips into the microwave, punch in two minutes, and walk away. When you open the door, instead of a pool of glossy, liquid chocolate, you are greeted by a scorched, grainy, foul-smelling rock.
Learning how to melt chocolate in the microwave is considered a culinary tightrope walk. Chocolate is notoriously temperamental. It burns easily, and if even a single drop of water touches it, it “seizes” into a stiff, unusable paste.
For decades, professional bakers insisted that the only way to melt chocolate was over a stove using a double-boiler (bain-marie). But in 2026, microwave technology has evolved, and we know better. If you use the correct technique, the microwave is actually the fastest, cleanest, and most efficient way to melt chocolate.
Quick Answer
The secret to melting chocolate in the microwave without burning it is to never use 100% power. You must lower your microwave’s setting to 50% power and heat the chocolate in short, 30-second intervals, stirring thoroughly between each burst. Stop microwaving when the chocolate is 80% melted, and let the residual heat in the bowl gently melt the remaining lumps. Use a bone-dry glass or silicone bowl, as a single drop of water will cause the chocolate to seize.
I. The Golden Rule: Respect the Power Level
If you only take one piece of advice from this entire guide, let it be this: Never melt chocolate at 100% power.
Chocolate is a complex emulsion of cocoa solids, cocoa butter, and sugar. It is highly sensitive to extreme heat. Standard microwaves are incredibly powerful—often pushing 1000 watts or more. Blasting delicate cocoa butter and sugar with 1000 watts of raw radiation is a guaranteed way to scorch the sugars, ruining the batch instantly.
Before starting, it helps to understand exactly how much power your specific oven produces. Check our 700W vs 1000W Microwave Guide to understand your oven’s baseline power.
The 50% Rule
To melt chocolate safely, you must force your microwave to operate at a lower temperature profile.
- Look at your microwave’s keypad and find the “Power Level” button.
- Before you start the timer, press Power Level > 5 (or 50%).
- This tells a conventional microwave to pulse the heat, giving the chocolate gentle bursts of warmth rather than a continuous, aggressive blast.
(Note: If you own a premium Inverter Microwave, this process is even easier, as the machine delivers a continuous, gentle 50% heat without the harsh pulsing. We’ll discuss this more later).

II. The Step-by-Step Guide to Melting Chocolate
Follow these exact steps for foolproof, silky-smooth melted chocolate. Skipping even one of these details can lead to a grainy disaster.
Step 1: Prep and Chop
Unless you are using standard chocolate chips (which are already formulated to be small and uniform), you need to chop your chocolate bars. Use a serrated knife to chop the chocolate into fine, even pieces.
The Science: If you have huge chunks mixed with tiny shards, the tiny shards will melt and then burn before the huge chunks even begin to soften. Uniformity guarantees even heat distribution.
Step 2: Choose the Right Bowl
Do not use cheap plastic containers. Plastic retains heat poorly and can sometimes leach chemicals when touching hot oils (like cocoa butter). Furthermore, plastic easily hides microscopic droplets of moisture.
- The Best Choice: Use a heavy, microwave-safe glass bowl (like Pyrex) or a Platinum-Cured Silicone Bowl. Glass retains heat beautifully, which helps melt the chocolate gently even after you take it out of the microwave. Read more in our Best Microwave Safe Containers guide.
- The Dry Rule: Ensure the bowl and the spatula you are using are bone dry. A single drop of water will ruin the entire batch.
Step 3: The 30-Second Intervals
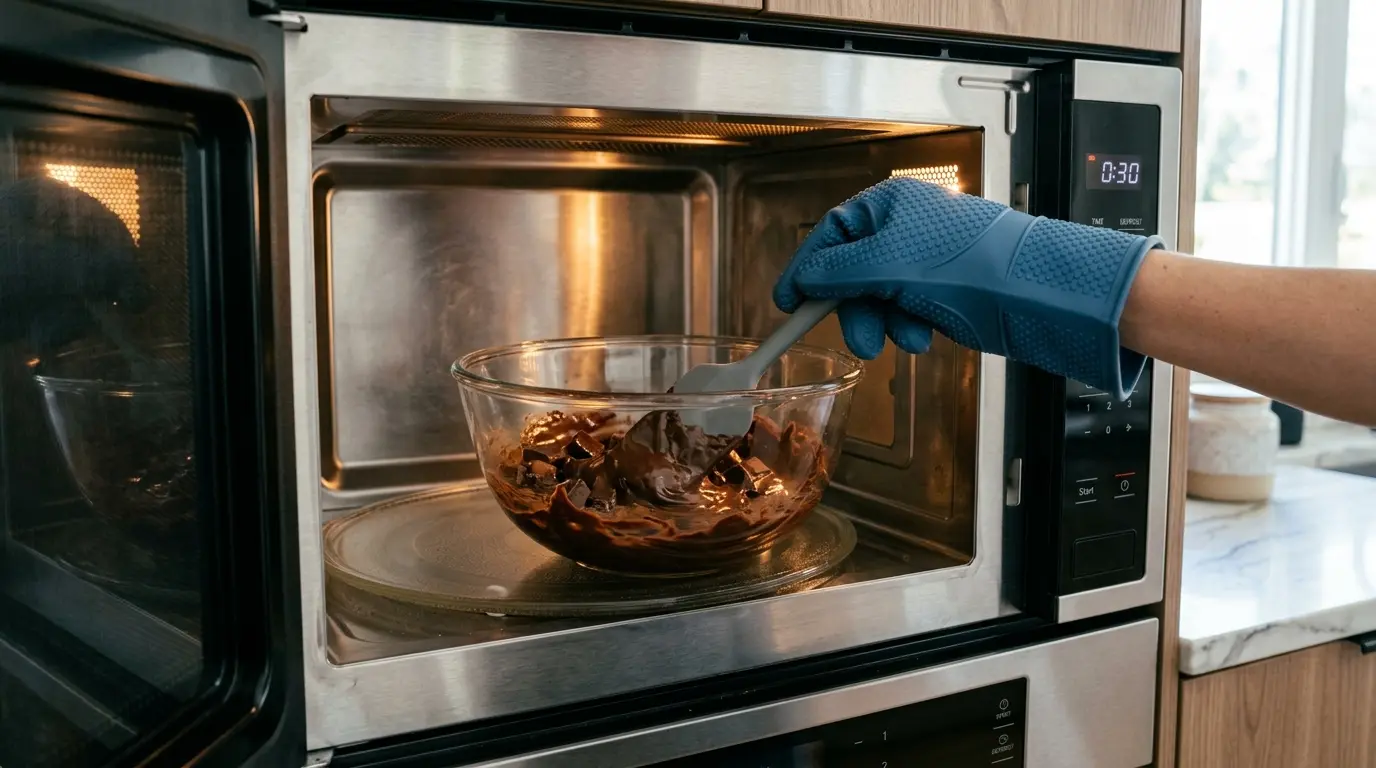
Place the dry bowl in the microwave. Set the power level to exactly 50%. Set the timer for 30 seconds.
When the microwave beeps, take the bowl out. The chocolate will likely look exactly the same as when you put it in. It will hold its shape perfectly. Stir it anyway.
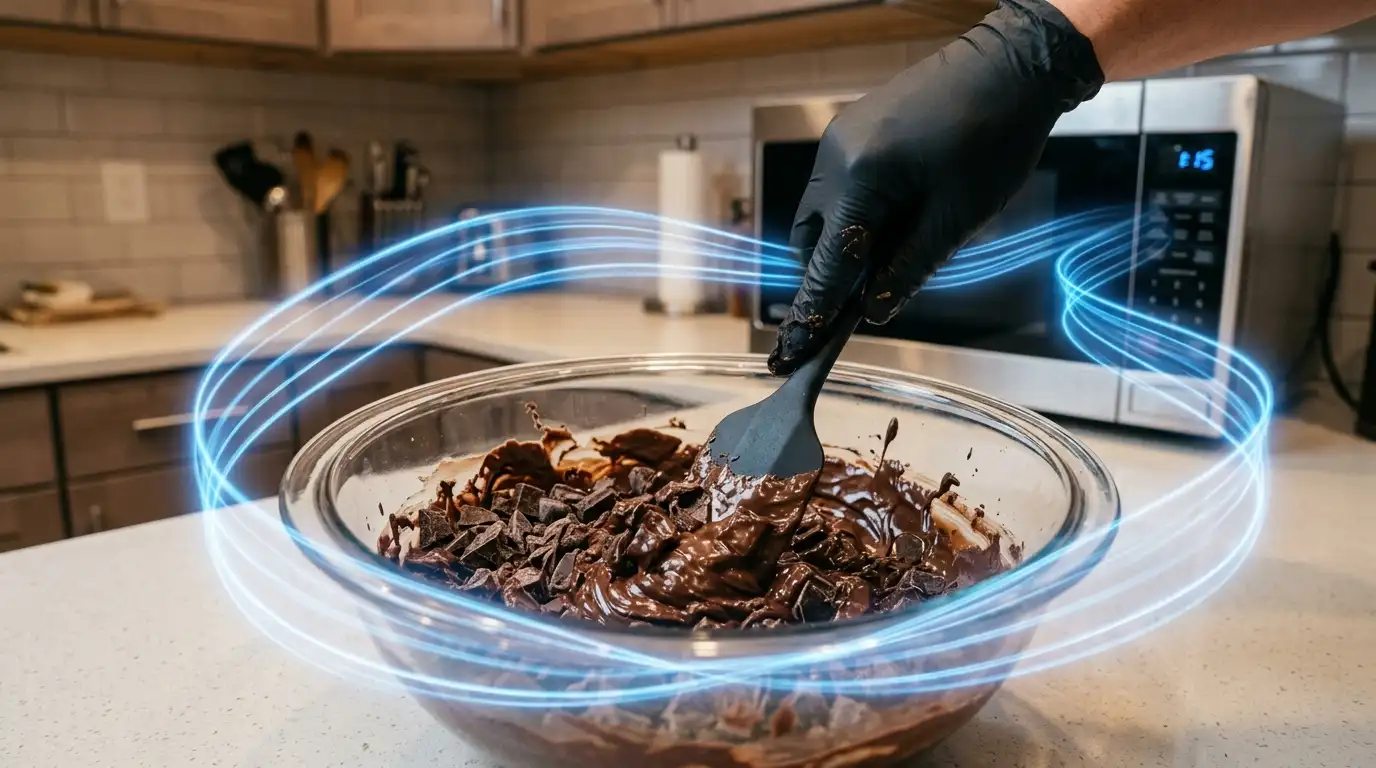
Step 4: The Secret is in the Stirring
Microwaves penetrate food and heat from the inside out (roughly 1 to 1.5 inches deep), meaning the center of your chocolate chunks might be melting while the outside looks completely solid. Stirring redistributes the heat and prevents hot spots from burning the sugars.
- Return the bowl to the microwave for another 30 seconds at 50% power.
- Take it out and stir again. You will start to see melting at the bottom of the bowl.
- Repeat this process in smaller 15 to 20-second bursts as the chocolate gets closer to melting.
Step 5: Stop Before It’s Fully Melted!
This is the biggest mistake home bakers make. Do not microwave the chocolate until it is 100% liquid inside the oven. You should stop microwaving when the mixture is about 80% to 90% melted, with a few visible lumps remaining. Take the bowl out and simply stir it continuously for a minute on the counter. The “carryover cooking” from the residual heat trapped in the glass bowl and the melted chocolate will gently melt the remaining lumps, leaving you with a perfectly smooth, glossy finish.
III. Dark vs. Milk vs. White Chocolate
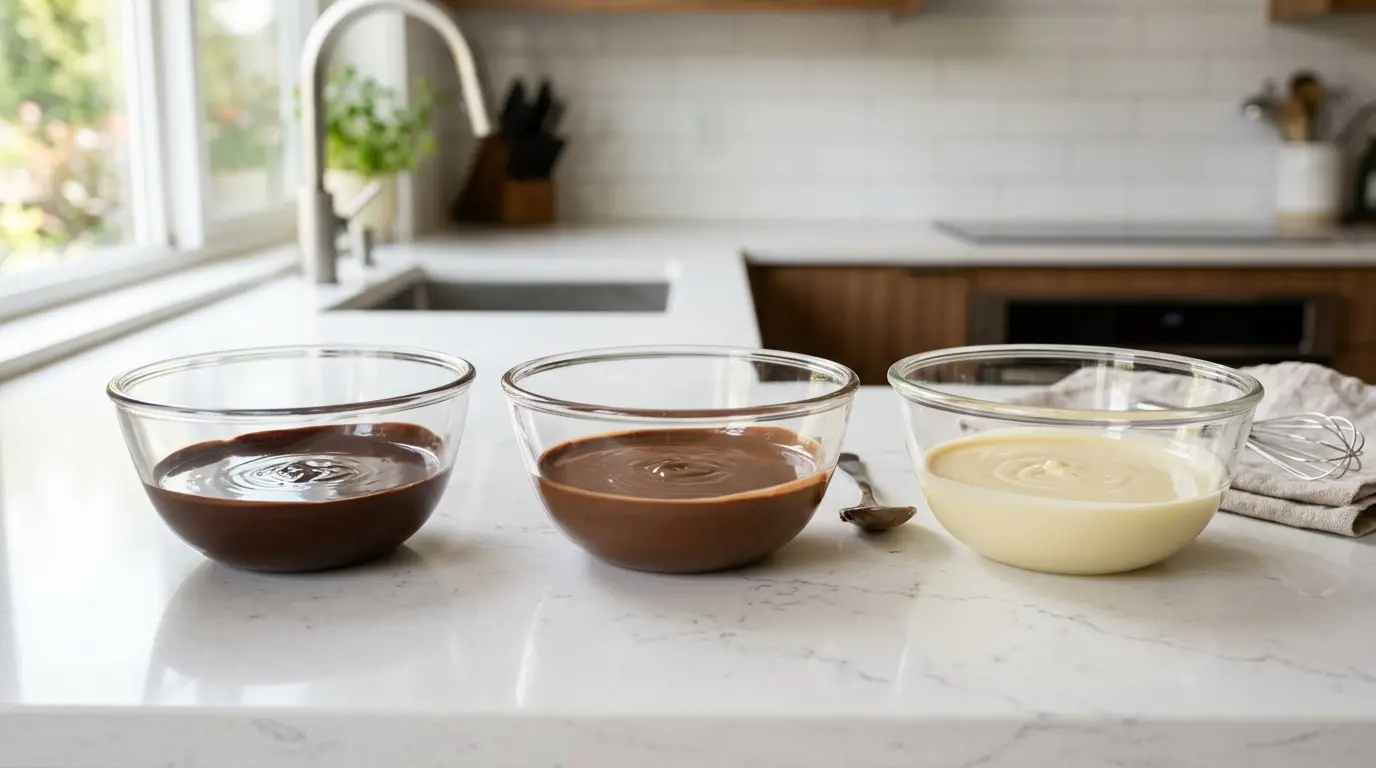
Not all chocolate behaves the same way in the microwave. You must adjust your strategy based on the cocoa mass, milk solids, and sugar content.
| Chocolate Type | Power Level | Interval Time | Sensitivity Level |
|---|---|---|---|
| Dark (60%+) | 50% Power | 30 seconds | Low (Forgiving) |
| Milk | 50% Power | 20 seconds | Medium |
| White | 30% Power | 15 seconds | High (Burns easily) |
1. Dark Chocolate (60% Cocoa or Higher)
Dark chocolate is the most forgiving. Because it has the lowest sugar and milk content, it has a higher resistance to heat. You can usually stick to the standard 30-second intervals at 50% power without much worry of the cocoa solids burning.
2. Milk Chocolate
Milk chocolate contains added milk solids (powder) and a significantly higher percentage of sugar. Sugar burns incredibly fast in the microwave. When melting milk chocolate, drop your intervals to 20 seconds at 50% power, and stir very thoroughly between each burst to prevent the milk proteins from clumping.
3. White Chocolate (The Final Boss)
White chocolate is not actually chocolate; it is a delicate blend of cocoa butter, milk solids, and a massive amount of sugar. There are no dark cocoa solids to stabilize it. It is the most fragile ingredient you can put in a microwave. It will scorch, turn yellow, and clump at the slightest provocation.
The Trick: Reduce your microwave power to 30% (Power Level 3) and only microwave in highly controlled 15-second bursts. Watch it like a hawk.
IV. Troubleshooting: Why Did My Chocolate Seize?
If your chocolate suddenly turned from a smooth liquid into a dull, grainy, stiff paste, it has “seized.” This happens in an instant and can ruin a recipe if you don’t know how to handle it.
The Two Main Culprits:
- Water: Chocolate and water do not mix. If you used a wet spoon, or if you covered the bowl in the microwave and condensation dripped down into the chocolate, the tiny amount of liquid turns the sugar into a sticky syrup. This syrup acts like glue, causing the cocoa particles to instantly clump together, squeezing the cocoa butter out.
- Overheating: If you microwaved it too long or forgot to lower the power level to 50%, the cocoa solids have literally separated from the fat and burned.
Can You Save Seized Chocolate?
If the chocolate is burnt (it smells acrid, smoky, and looks dark and crumbly), throw it away. There is no saving it. The chemical structure is ruined.
If the chocolate has seized due to moisture, you can perform a rescue operation, but it will never be suitable for dipping strawberries or making a hard chocolate shell again.
The Fix: Add 1 tablespoon of boiling water (yes, more water to force the emulsion to re-form!) or 1 tablespoon of warm vegetable oil/coconut oil to the seized chocolate and whisk vigorously. The mixture will eventually smooth out. You can now use this rescued chocolate for baking brownies, making a ganache, or creating a chocolate sauce, but it will no longer set hard.
V. The Ultimate Baker’s Secret: The Inverter Microwave
If you bake frequently, temper chocolate regularly, and are tired of standing in front of the microwave doing math for 30-second intervals, it is time to upgrade your kitchen tech.
As we detailed in our Best Inverter Microwaves of 2026 guide, standard microwaves use older transformer technology that pulses 100% heat on and off. That aggressive 100% blast—even if it’s just for a few seconds—is exactly what causes the sugar in chocolate to scorch and seize.
Inverter technology delivers a steady, continuous stream of low power. If you set an Inverter microwave (like the top-rated Panasonic or Breville models) to 30% power, it gently blankets your chocolate in a continuous 30% warmth. It operates exactly like a professional double-boiler on a stovetop, eliminating hot spots entirely.
If you want to melt chocolate, temper butter, or defrost delicate ingredients flawlessly, an Inverter microwave is the single best investment a home chef can make. Learn more about how this circuitry works in our comparison: Inverter vs Conventional Microwave.
Explore More Microwave Hacks
Don’t stop here! Visit our complete hub for more culinary expert tips, appliance comparisons, and updated buying recommendations for 2026.
FAQ: How to Melt Chocolate in the Microwave
Troubleshooting & Tips for Perfect Baking
Baker’s Tip: Stop microwaving when there are still a few lumps left. The residual heat of the bowl will melt the rest as you stir!
