
The Perfect Microwave Poached Egg Guide (No Explosions!)
Making a traditional poached egg on the stovetop is a notoriously intimidating culinary chore. You have to fill a saucepan, bring it to a rolling boil, add pungent white vinegar, create a perfect, swirling vortex of water, carefully slide the cracked egg in without breaking the yolk, and pray it doesn’t instantly turn into a wispy, stringy, unappetizing mess.
What if you could skip the boiling water, skip the vinegar, completely ignore the vortex, and get a perfectly spherical, runny-yolked poached egg in just 60 seconds flat?
You can. The microwave poached egg is one of the greatest kitchen hacks of all time—if you do it correctly. If you do it wrong, you will be left scrubbing an exploded, rubbery egg off the ceiling of your appliance for twenty minutes. Below is the definitive 2026 guide, including the science of why eggs explode, the exact timing chart for your microwave’s wattage, and the foolproof method for a high-protein breakfast.
The Quick Answer
To poach an egg in the microwave safely: Pour ½ cup of water into a glass mug, crack a cold egg into the water (ensuring it is completely submerged), and gently pierce the yolk once with a toothpick to prevent it from exploding. Cover the mug with a silicone lid or small plate, and microwave at 80% power for exactly 60 seconds. Use a slotted spoon to remove the perfectly cooked, runny egg.
The Physics: Why Do Eggs Explode in the Microwave?
Before you start cooking, you must understand the thermal physics of the appliance you are about to use. Microwaves do not heat the air; they emit electromagnetic radiation that targets and aggressively vibrates the water molecules inside your food.
An egg yolk is surrounded by a delicate, microscopic layer called the vitelline membrane. Inside that membrane, the yolk contains a significant amount of water and liquid fat. When you microwave an intact, unpierced yolk, the appliance superheats the water inside the yolk, turning it into steam almost instantly.
The Pressure Bomb Effect
Liquid water expands by roughly 1,600 times its volume when it converts to steam. Because the vitelline membrane acts as a watertight, airtight seal, it traps that rapidly expanding steam. The yolk essentially turns into a miniature, high-pressure bomb. When the pressure finally breaches the structural integrity of the membrane—or when you pierce it with a fork later on your plate—it violently, acoustically explodes, sending scalding hot egg shards everywhere.
The Scientific Solution
To cook the egg safely, you must defeat the pressure buildup. You achieve this by doing two things simultaneously:
- Submersion: Ensuring the egg is completely submerged in a buffer of tap water tempers the rapid, localized heating of the microwaves.
- The Vent Hole: You must physically prick the vitelline membrane with a toothpick before cooking. This creates a microscopic exhaust vent, allowing the internal steam to escape harmlessly into the surrounding water without tearing the yolk apart.
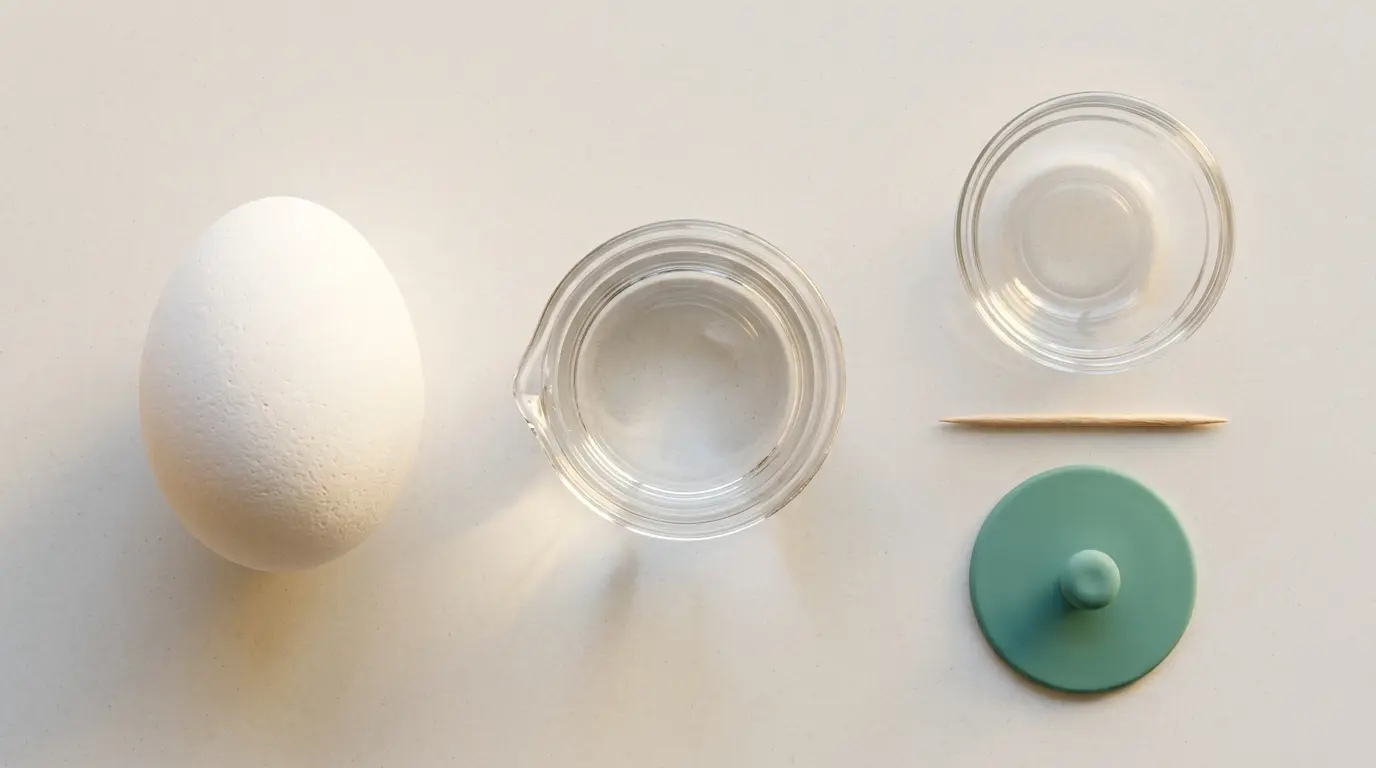
What You Need (Tools & Ingredients)
To execute this culinary hack perfectly, you need the right tools. Because the water inside the mug will reach a rolling, violent boil (212°F / 100°C) very quickly, material safety is your top priority. Do not use cheap, single-use plastic for this, as it will melt and leach chemical plasticizers directly into your breakfast.
You need 1 Large Egg (cold, straight from the refrigerator helps the yolk hold its shape) and 1/2 Cup of Water (standard cold tap water is perfect).
A Microwave-Safe Mug or Ramekin. We highly recommend a small, thick glass Pyrex bowl or a premium silicone cup. If you are unsure if your favorite coffee mug is safe for boiling water, read our definitive guide on the Best Microwave Safe Containers.
You need a sharp Toothpick or Pin to vent the yolk. You also need a small ceramic plate or a Silicone Lid to cover the mug to trap the steam. (See our Silicone vs Plastic Microwave breakdown to understand why a silicone cover is vastly superior to toxic plastic cling wrap).
Step-by-Step: How to Poach an Egg in the Microwave
Follow these exact steps for a flawless, high-protein breakfast. Do not skip the toothpick step!
Step 1: Prep the Water
Pour 1/2 cup of cold tap water into your glass mug or ceramic ramekin. You do not need to add vinegar or salt (salt can actually cause the water to boil unevenly in a microwave, creating premature splatters).
Step 2: Crack the Egg
Gently crack the cold egg directly into the center of the water. Because eggs are denser than water, it should sink straight to the bottom and be completely submerged. If the very top of the yellow yolk is exposed to the open air, carefully add another splash of water until it is fully covered.
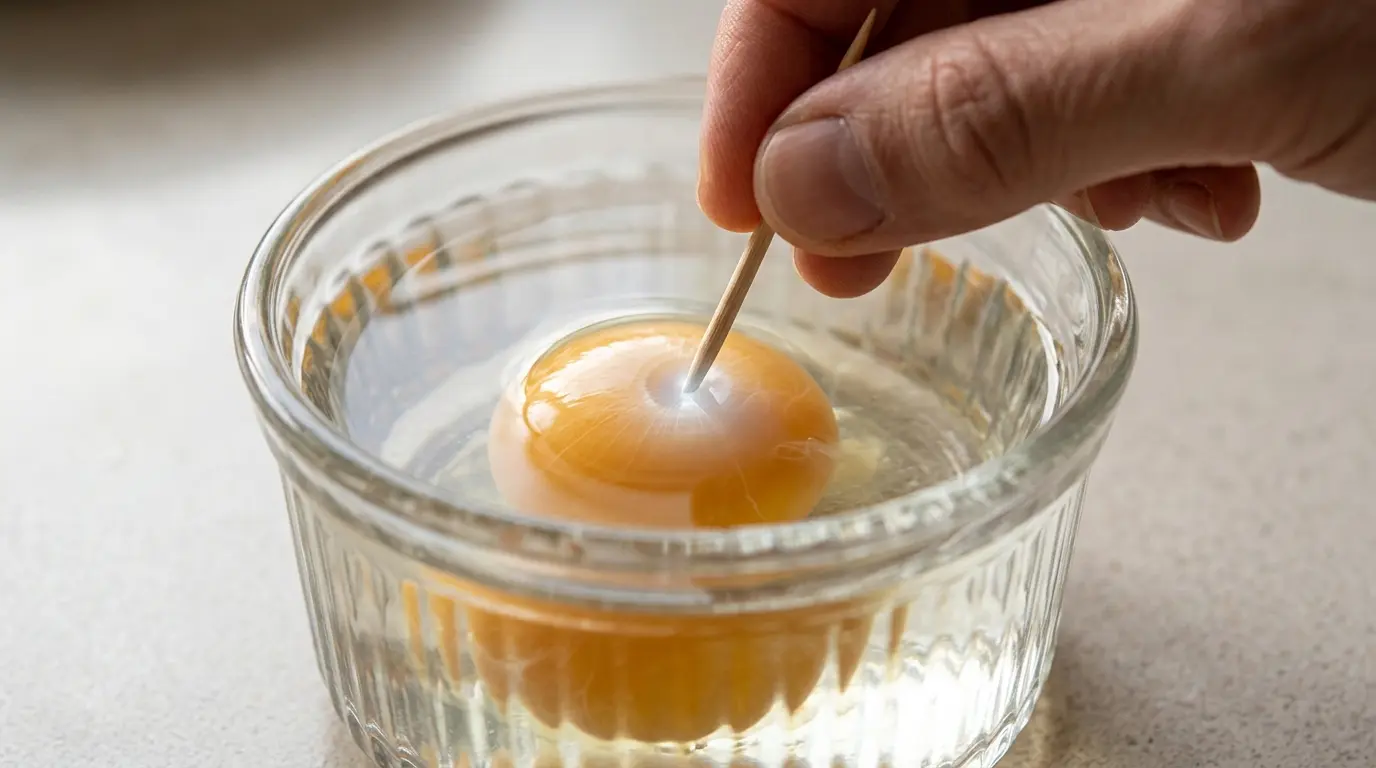
Step 3: The Safety Prick (Crucial!)
Take your wooden toothpick or a sharp metal pin and gently poke a single, tiny hole directly into the center of the yellow yolk. Then, poke one more hole into the thickest, most gelatinous part of the clear egg white. This tiny hole acts as your exhaust valve, completely preventing the dreaded explosion without ruining the runny, liquid center.
Step 4: Cover the Mug
Place a microwave-safe small ceramic plate or a reusable silicone lid completely over the top of the mug. This traps the rising steam generated by the boiling water, ensuring that the top of the egg white cooks evenly via ambient heat rather than just direct microwave radiation.
Step 5: Microwave on Medium-High
Do not blast it on 100% power! If you use maximum power, the water will boil too violently and tear the delicate egg white to shreds. Set your microwave to 80% power (Medium-High). Heat the covered mug for exactly 60 seconds.
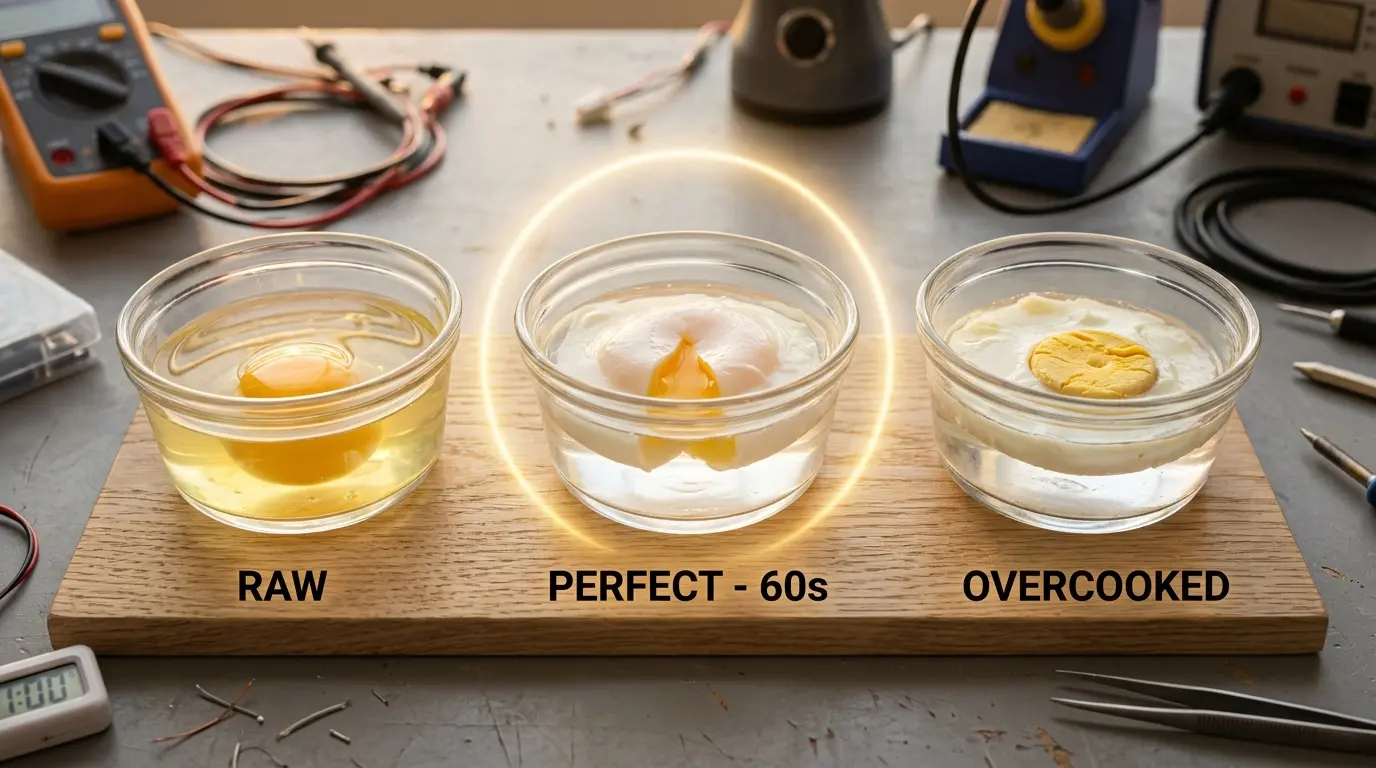
Step 6: Inspect and Adjust
Carefully remove the mug using an oven mitt (the glass will be scalding hot). The egg white should be entirely opaque, solid, and white, while the yolk should jiggle slightly when you shake the mug. If the white is still clear, translucent, and snotty, put it back in the microwave for incredibly short 10-second intervals until it is firm.
Step 7: Remove and Serve
Use a slotted metal or silicone spoon to gently lift the poached egg out of the hot water. Let it drain for two seconds on a paper towel to remove excess moisture, then slide it seamlessly onto your buttered sourdough or avocado toast. Season with flaky sea salt and cracked black pepper.
Microwave Poaching Time Chart
Every microwave is engineered differently. A tiny 700-watt budget dorm microwave will cook much slower than a premium 1200-watt Panasonic Inverter Microwave. If you are unsure what your wattage is, look at the sticker inside the door frame. Use this chart to find your perfect starting time based on your specific appliance’s wattage.
| Microwave Wattage | Power Level Setting | Initial Cooking Time | Additional Intervals (If Needed) |
|---|---|---|---|
| 700W – 800W | 100% (High) | 60 Seconds | + 15 Seconds |
| 900W – 1000W | 80% (Med-High) | 60 Seconds | + 10 Seconds |
| 1100W – 1200W+ | 70% (Medium) | 50 Seconds | + 10 Seconds |
If your egg is coming out completely raw, or the water isn’t even boiling no matter how many extra 15-second intervals you leave it in for, your internal magnetron might be actively failing. Check our emergency diagnostic guide: Microwave Not Heating But Running to see if your appliance is dead.
Is Microwaving Eggs Actually Healthy?
Many fitness enthusiasts and home chefs worry that “nuking” an egg destroys its vital, highly bioavailable protein profile and mutates its healthy fats. As we explored deeply in our scientific guide Can Microwaves Destroy Nutrients?, this is an incredibly pervasive culinary myth.
In fact, microwaving an egg in a water bath is one of the absolute healthiest ways to prepare it. Why?
- No Oxidized Oils: When you fry an egg in a skillet, you are exposing the egg to high-heat cooking oils (like butter or seed oils) which can oxidize and add hundreds of unnecessary, inflammatory calories to your breakfast. Poaching uses pure water, keeping the meal incredibly lean.
- Vitamin Retention: Because you are cooking the egg incredibly fast (in just 60 seconds) and not boiling it for 15 minutes on a hard stovetop, the microwave actually retains highly sensitive B-vitamins (like Choline, crucial for brain health) and fat-soluble antioxidants (like lutein and zeaxanthin, found heavily in the yellow yolk) much better than aggressive pan-frying.
- Protein Denaturation: The gentle ambient steam heat safely denatures the egg white proteins, making them completely safe and 100% bioavailable for your body to absorb for muscle repair.
Ultimately, the microwave poached egg isn’t just a lazy kitchen shortcut; it is one of the cleanest, leanest, and most nutritionally efficient ways to prepare your morning protein.
Explore More Microwave Hacks
Don’t stop here! Visit our complete hub for more expert culinary tips, hidden appliance features, and updated buying recommendations for 2026.
FAQ: Troubleshooting the Microwave Poached Egg
2026 Guide: Perfect Yolks Without the Explosions
Breakfast Tip: Covering the mug loosely with a microwave-safe small plate adds an extra layer of safety against messy splatters!
