
How to Fix a French Door Ice Maker That Keeps Freezing Up (2026 Guide)
Few things are as frustrating as reaching for a cold drink on a summer afternoon only to find your high-end French door ice maker has transformed into a solid, unmoving block of arctic ice.
Unlike traditional top-freezer models where the ice maker lives in a naturally sub-zero environment, French door refrigerators often house the ice maker in a dedicated compartment located within the much warmer 38°F refrigerator section. This unique design is incredibly convenient for eye-level access, but it also creates a “perfect storm” for frost buildup and mechanical freeze-ups.
When your ice maker keeps freezing, it is rarely a random software glitch. It is almost always a physical symptom of moisture entering the unit or water leaking where it shouldn’t. In this comprehensive diagnostic guide, we will walk through the most common culprits and the DIY steps to reclaim your ice production without calling a repairman.
The Quick Answer
If your French door ice maker is frozen solid, the most likely cause is a compromised door gasket allowing humid air to leak into the ice room. Check the rubber seals for debris or tears using the “Paper Test.” Other common causes include a leaking water inlet valve (look for a “stalactite” of ice in the fill tube), low water pressure due to a clogged filter, or the refrigerator not having a slight backward tilt to ensure proper door sealing.
1. Inspect the Door Gasket (The Moisture Entry Point)
In a French door setup, the isolated ice compartment is kept cold by a dedicated air duct that pulls sub-zero air directly from the freezer. If the rubber door gasket (the magnetic seal) around the ice compartment or the main refrigerator door is torn, dirty, or warped, warm and humid room air will relentlessly seep in.
When that outside humidity hits the sub-zero environment of the ice room, it instantly flashes into frost. Over several days, this frost accumulates, blocking air vents and eventually encasing the entire ejector arm mechanism in solid ice.
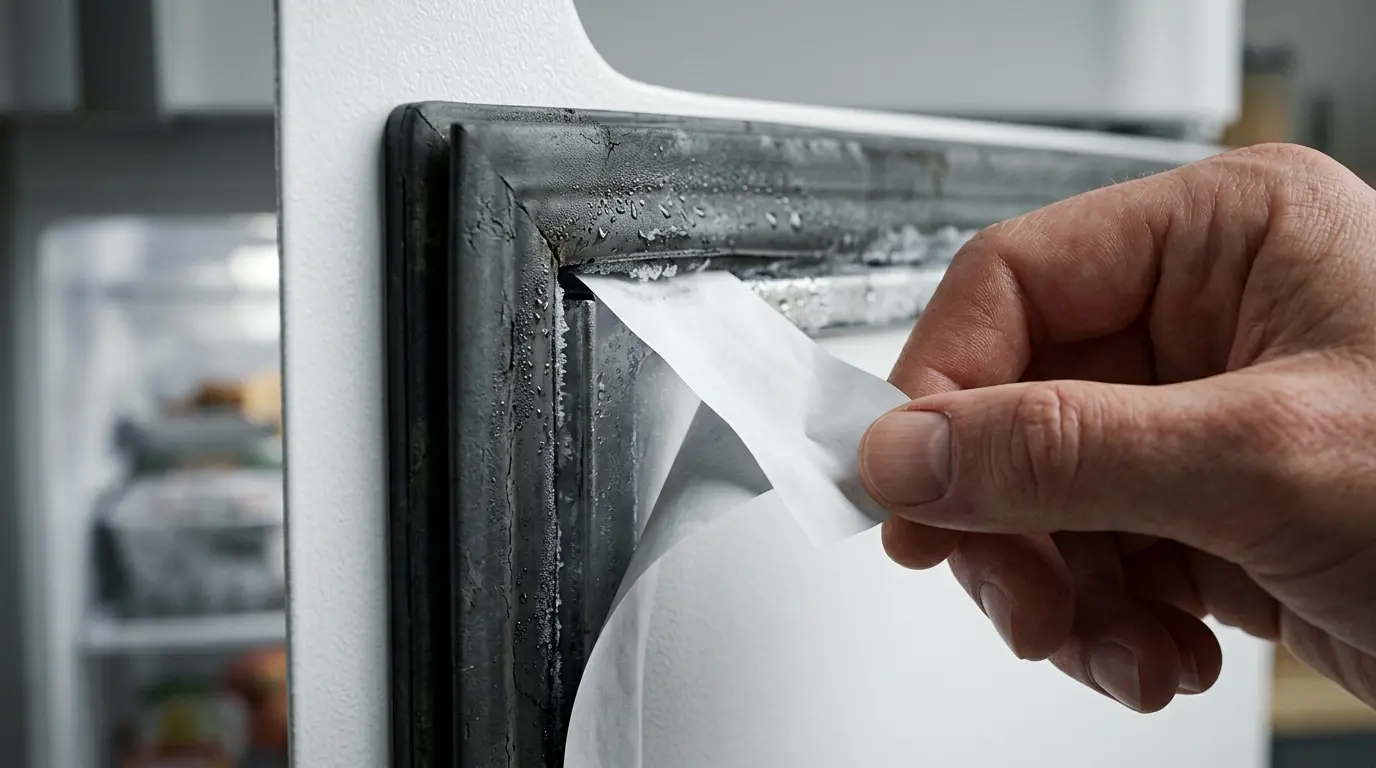
Diagnostic: The Paper Test
You cannot always see a gasket leak with the naked eye. Instead, use this old technician’s trick:
- Open the door and place a single sheet of standard printer paper across the rubber gasket.
- Close the door firmly.
- Try to pull the paper out. If it slides out with zero resistance, your magnetic seal is failing and allowing humid air to bypass the barrier.
The Fix: Clean or Replace
Before buying parts, thoroughly clean the gasket with warm, soapy water. Food spills or sticky residue (syrup, juice) can prevent the magnet from making a 100% airtight connection. If the rubber is visibly cracked, brittle, or has lost its “squish,” it is time for a full gasket replacement.
2. Check for a Leaking Water Inlet Valve
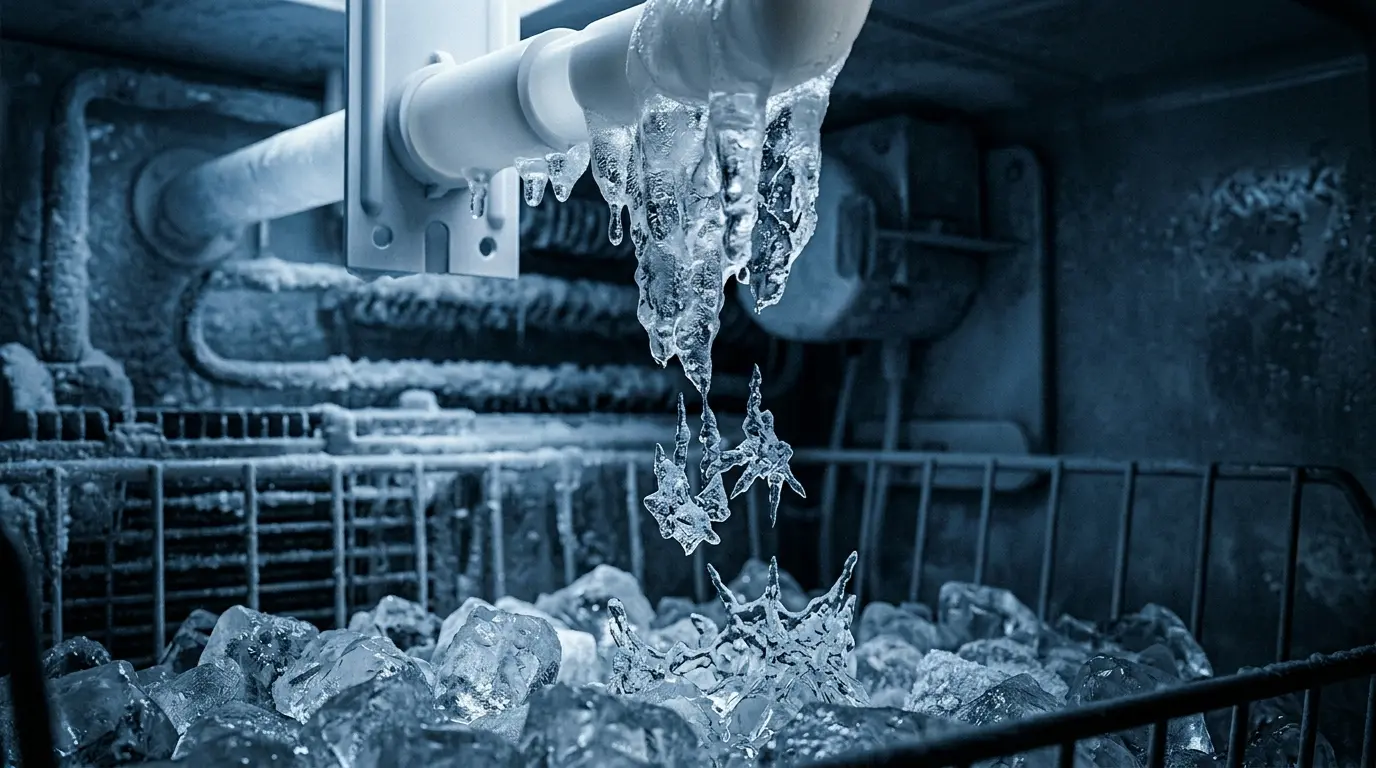
Does your ice maker have a “stalactite” of ice hanging from the fill tube? If so, your water inlet valve is likely the villain of the story.
This solenoid-controlled valve is responsible for opening and closing to fill the ice tray with the exact amount of water. Over time, calcium and mineral deposits from your home’s water supply can build up inside the valve seat. This prevents the internal plunger from closing 100%, causing a constant, microscopic drip.
The Symptom: The Ice Trail
You will see a distinct trail of ice leading from the plastic fill tube down into the ice bucket. Because the water is dripping slowly, it freezes as it falls, eventually creating one giant, unbreakable mass of cubes in the bucket that the dispenser cannot break apart.
The Fix: Valve Replacement
Because these valves are integrated mechanical units, they cannot usually be repaired or cleaned successfully. Replacing the water inlet valve (located at the bottom rear of the fridge) is the only permanent solution to stop the drip. If you have a Samsung model, this issue is often linked to the internal defrost cycle—see our guide on the OEM Replacement Heater for Samsung Ice Maker for a specialized fix.
3. Clear the Frozen Fill Tube
If the water pressure in your home is too low, the water enters the ice maker too slowly. Instead of a strong, fast “jet” that fills the tray and then stops, the water trickles. This slow-moving water freezes inside the fill tube before it even reaches the tray. Eventually, the tube becomes a solid plug of ice, and no more water can pass through.
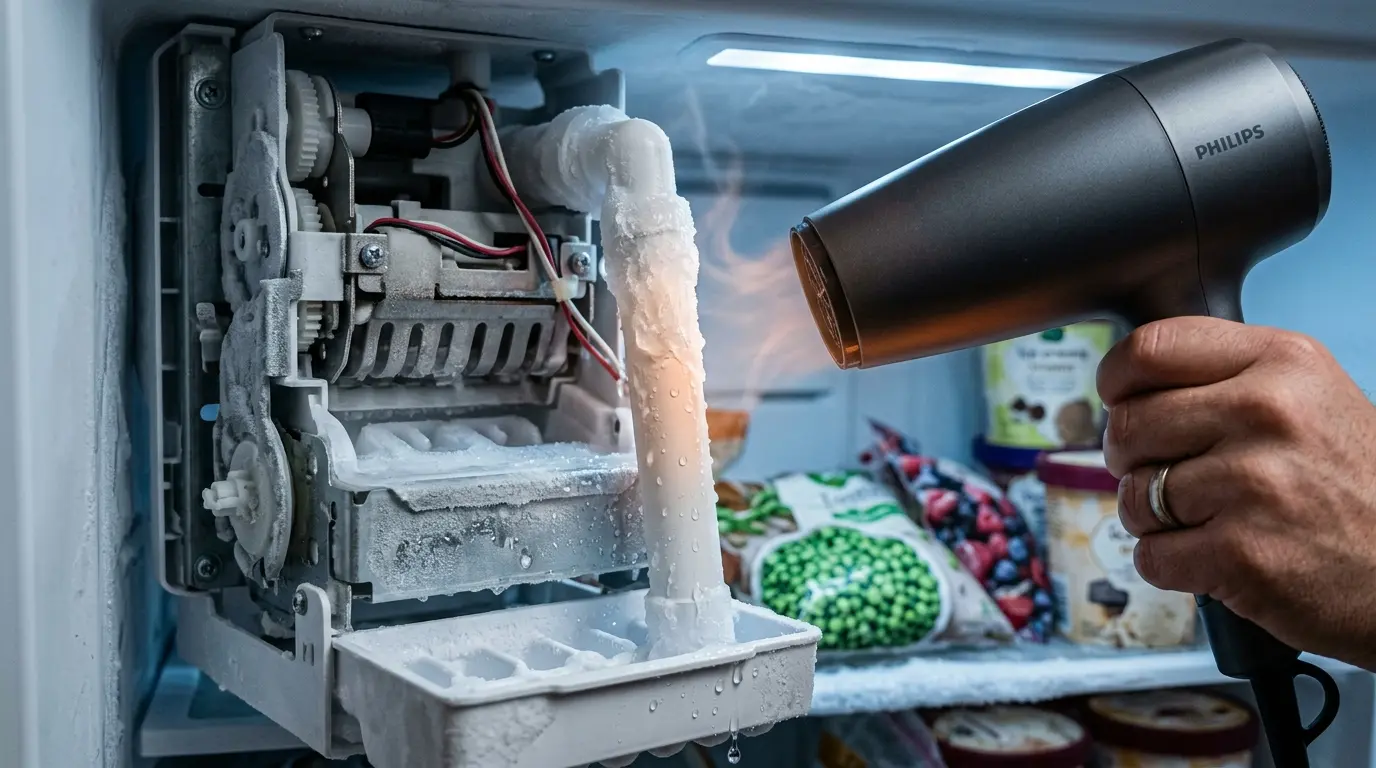
⚠️ The Hairdryer Warning
To clear a frozen tube, you can use a hairdryer on a low, cool setting to gently thaw the ice plug. However, exercise extreme caution.
The interior liners of your refrigerator and the ice maker housing are made of thin, high-impact plastic. If you use the “High Heat” setting, you will permanently warp or melt the plastic panels, causing a catastrophic FF E error like the one we cover in our LG Fridge Error Code FF E guide.
The Long-Term Fix: Pressure Maintenance
Ensure your water filter is replaced every 6 months. A clogged, sediment-filled filter is the number one cause of reduced water pressure to the ice maker. If you’ve changed the filter and the pressure is still low, check the “saddle valve” on your home’s copper water line to ensure it is fully open.
4. Level the Refrigerator
It sounds too simple to be true, but a refrigerator that isn’t perfectly level can cause water to splash or overflow during the fill cycle. If the tray is tilted forward or to the side, the water won’t land perfectly in the molds. It will run down the external sides of the ice maker and freeze the moving parts (like the raker or ejector arm) in place.
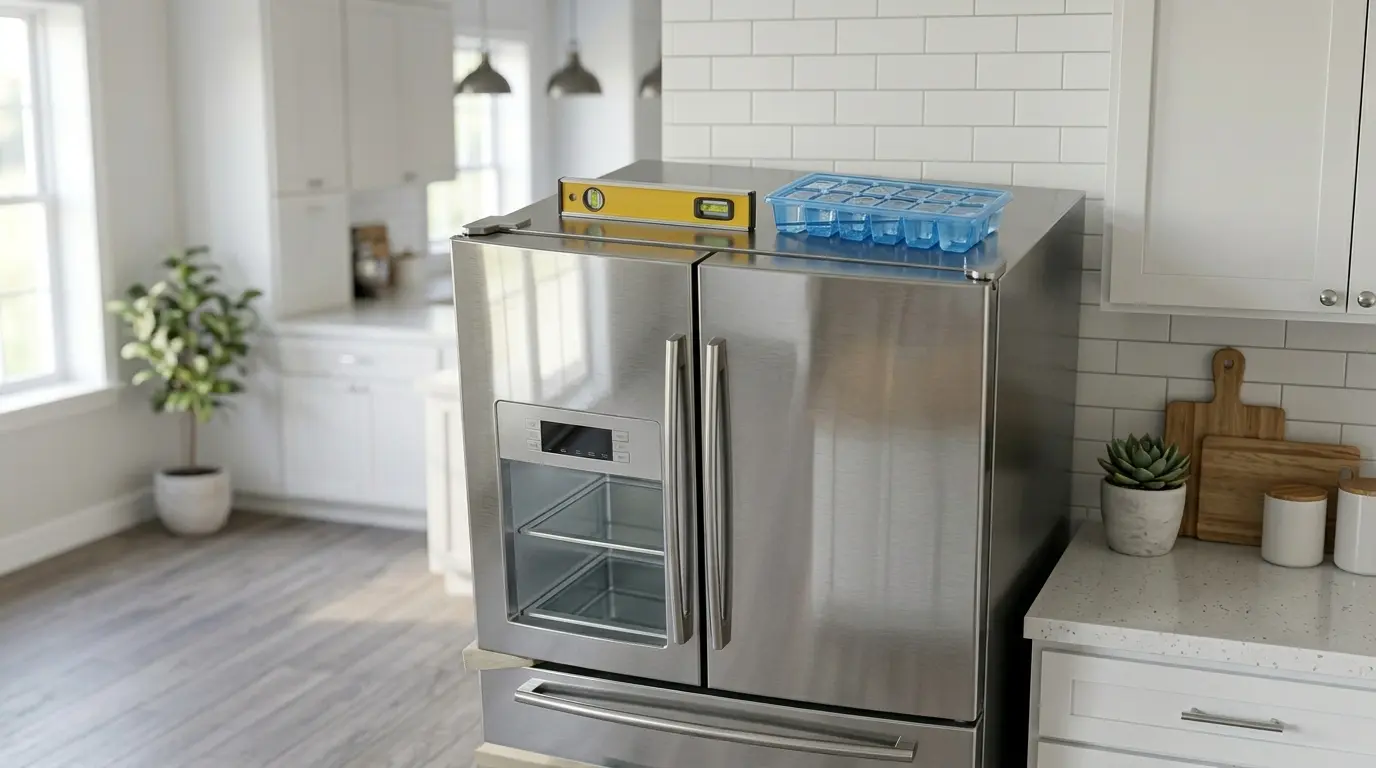
The Fix: The “Backward Tilt” Rule
Use a spirit level (bubble level) on top of the fridge cabinet. You don’t actually want the fridge perfectly 100% level with the floor.
- Adjust the leveling legs at the front base of the fridge until the unit has a very slight backward tilt (the bubble should be just off-center toward the back).
- This tilt serves two purposes: it ensures water stays in the tray during fill, and it uses gravity to help the heavy French doors swing shut and seal their gaskets effectively every time.
5. Perform a Hard Reset
Sometimes the ice maker’s “brain” simply gets stuck in a cycle. It may think the tray is empty when it is full, leading to a double-fill and subsequent overflow freeze.
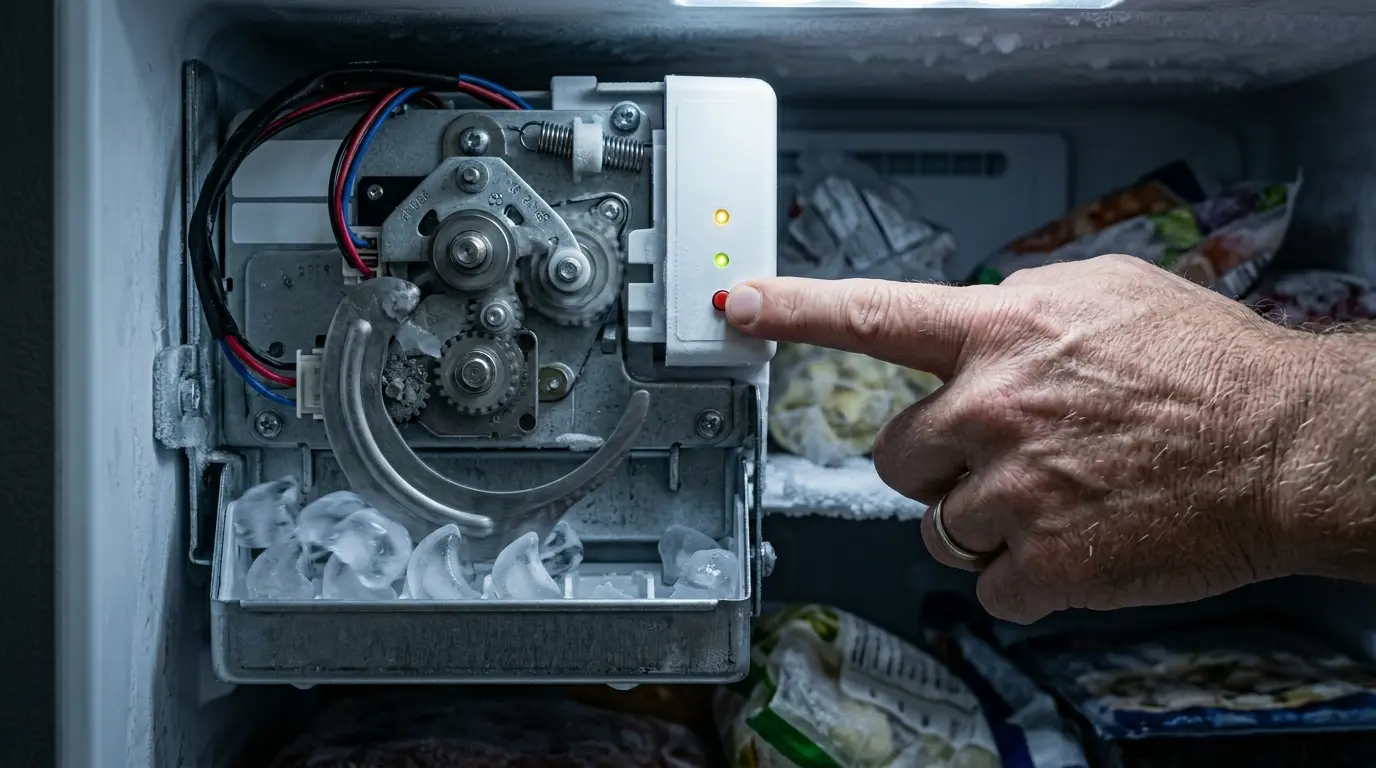
Most modern LG, Samsung, and GE French door models have a small physical reset button located on the ice maker assembly itself. It is often hidden behind the front plastic cover or on the bottom side of the unit.
The Diagnostic Procedure:
- Locate the “Test” or “Reset” button.
- Press and hold it for 3 to 10 seconds.
- Listen for a chime or watch for the ejector arm to begin a full rotation.
- This forces the unit to run a diagnostic cycle, realigns the gears, and can often clear minor software errors that lead to overfilling or sensor malfunctions.
Explore the Refrigerator Hub
Don’t stop here! Visit our complete master directory for more expert troubleshooting tips, DIY repair guides, and updated 2026 buying recommendations.
FAQ: French Door Ice Maker Issues
2026 Guide: Troubleshooting Jams, Leaks, and Freeze-ups
Maintenance Tip: Vacuum the condenser coils at the back of your fridge twice a year. Overheating coils can disrupt the defrost cycle and lead to ice maker failure!
