
How to Set Up a DIY Dry Aging Fridge at Home (2026 Guide)
Eating a perfectly cooked, 45-day dry-aged ribeye is a life-changing culinary experience. The dry aging process intentionally evaporates moisture from the meat, intensely concentrating the beef’s natural flavor. Simultaneously, naturally occurring enzymes break down the tough connective muscle tissue, resulting in a steak that is impossibly tender and rich with complex, nutty, and earthy blue-cheese notes.
However, ordering a prime dry-aged steak at a high-end restaurant will easily cost you upwards of $100 to $150 per plate. Buying a commercial, purpose-built dry aging cabinet (like a SteakAger or Dry Ager) for your home can cost thousands of dollars.
Fortunately, you do not need to spend a fortune to achieve steakhouse perfection. With a standard mini fridge and a few simple, inexpensive modifications, you can build a highly effective, safe curing chamber right in your kitchen, basement, or garage. In this comprehensive guide, we break down exactly how to set up a DIY dry aging fridge, covering the essential equipment, the biological golden rules of climate control, and the common mistakes that ruin expensive cuts of meat.
The Quick Answer
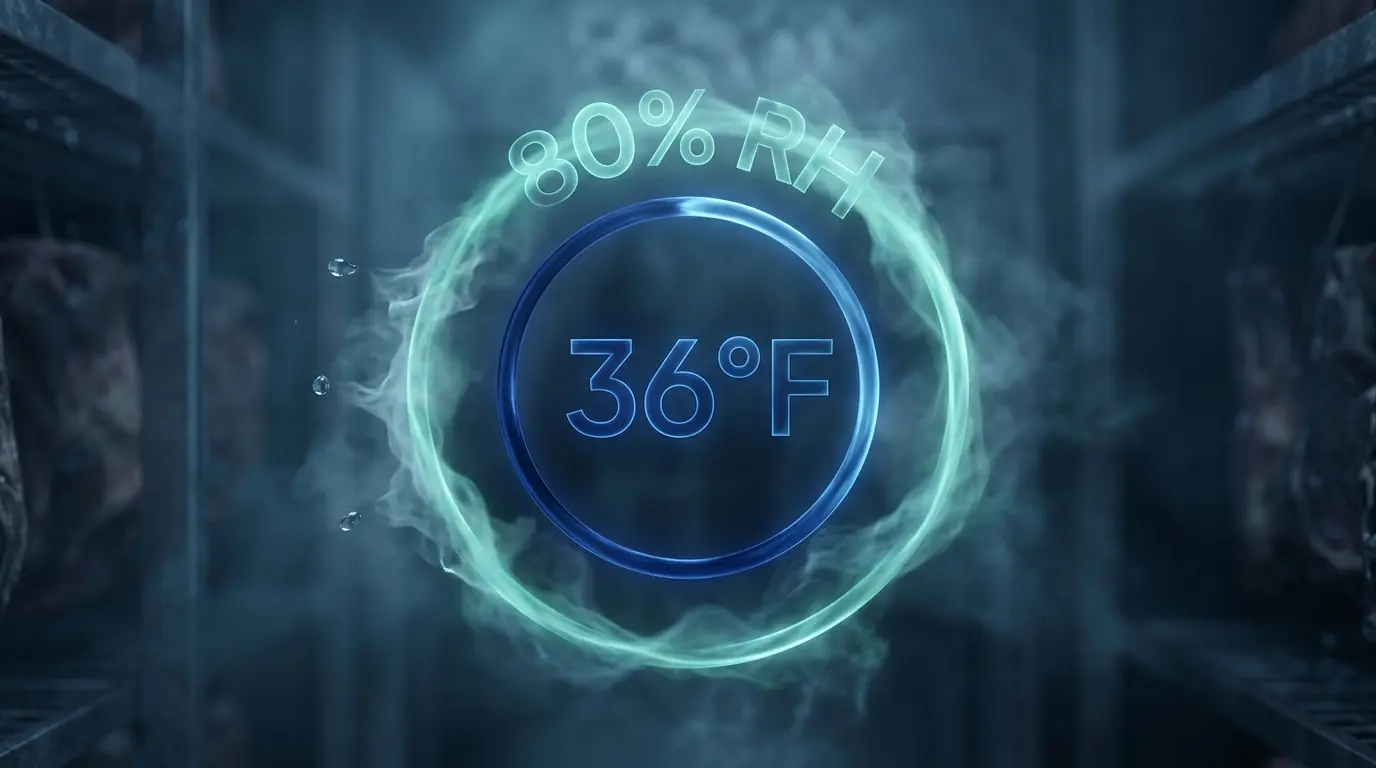
To build a DIY dry aging setup, you need a dedicated compressor-driven mini fridge (preferably a glass-front beverage cooler without a freezer compartment). You must install stainless steel wire racks, a small circulation fan to keep air moving, and a smart digital hygrometer. You must maintain a strict internal temperature between 34°F and 38°F and a humidity level between 75% and 85%. Always age large, whole sub-primal roasts (never individual steaks) for a minimum of 28 to 45 days before trimming the hard outer crust (the pellicle) and cooking.
1. Choosing the Right Refrigerator
Let’s address the most common beginner mistake immediately: You cannot dry age meat in your main kitchen fridge. The constant opening and closing of the door by your family causes massive, dangerous temperature and humidity spikes. Furthermore, the raw beef will act like a sponge, absorbing the pungent odors of yesterday’s leftover garlic pasta and chopped onions. You absolutely need a dedicated, isolated appliance.
Compressor vs. Thermoelectric
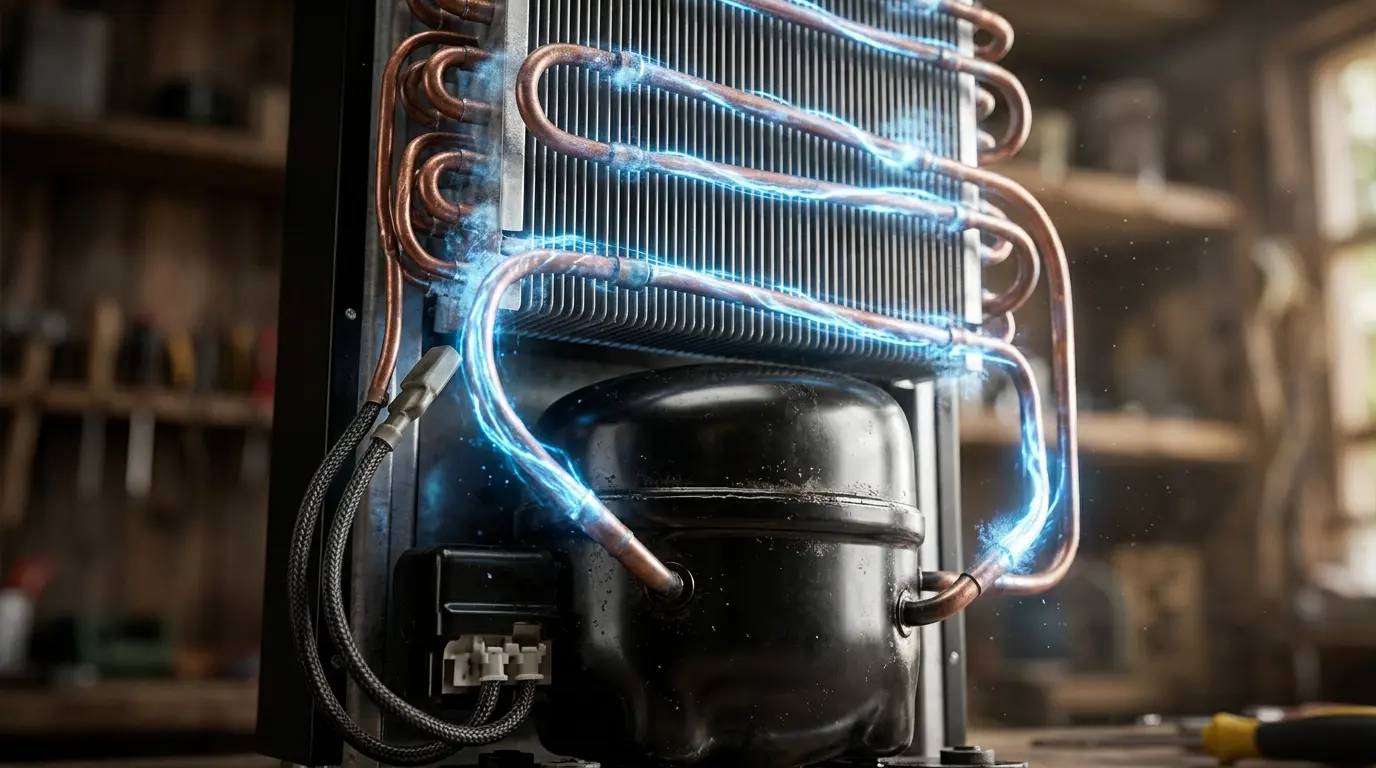
You must use a heavy-duty, mechanical compressor-driven fridge. As we explained deeply in our Thermoelectric vs Compressor Mini Fridge guide, solid-state thermoelectric (Peltier) fridges are simply not powerful enough. They rely on ambient room temperature and physically cannot hold the strict, near-freezing temperatures required for safe meat curing, especially during warm summer months.
Glass Door Coolers vs. Solid Door Fridges
While we strongly warned against using glass doors in our Beverage Cooler vs Mini Fridge for Medication Storage safety manual due to UV light degrading delicate pharmaceuticals, a glass-front beverage cooler is actually perfect for dry aging beef.
Why? The number one rule of dry aging is to keep the door shut. A glass door allows you to visually monitor the crust (the pellicle) forming on your beef and check your digital thermometers without ever opening the door and ruining the carefully balanced internal climate.
The Freezer Compartment Warning
If you are buying a used appliance on Facebook Marketplace or repurposing an old dorm fridge, look inside first. Make sure it does not have a small, exposed metal freezer compartment at the top. These primitive freezer plates create extreme, localized cold spots that can accidentally freeze the top inch of your expensive roast, ruining the enzymatic breakdown process.
2. The Essential Equipment Checklist
To turn a basic, $150 mini fridge into a safe, precision-controlled dry aging environment, you will need a few mandatory aftermarket additions. Do not skip any of these items.
Meat must be exposed to circulating air on all 360 degrees. You absolutely cannot use solid glass shelves or baking sheets, as the bottom of the meat will sit in its own moisture and rot. If your fridge comes with glass, remove it and replace it with stainless steel wire cooling racks.
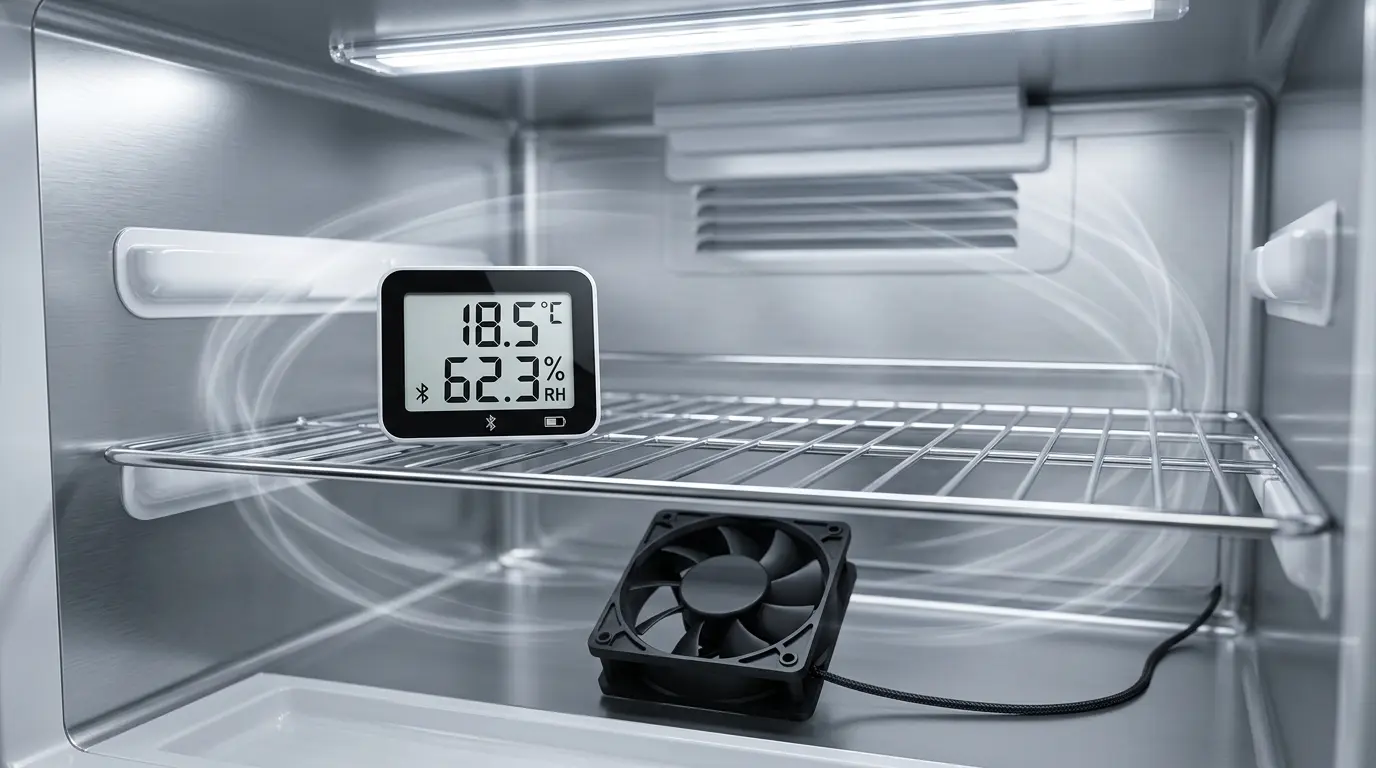
Stagnant, dead air breeds harmful bacteria. You need constant, gentle airflow to dry the exterior of the meat quickly and form a protective crust. A simple battery-operated desk fan or a wired USB-powered PC fan placed at the bottom of the fridge is mandatory.
The mechanical “1 to 7” dial on a cheap fridge is wildly inaccurate. You need a digital monitor that tracks both temperature and humidity, preferably a smart model (like a Govee or Inkbird) that connects to an app on your phone via Bluetooth or Wi-Fi so you can track the data without opening the door.
If you plan to drill a hole through the side of the fridge to run permanent power wires for your exhaust fan or digital sensors, you must read our engineering guide on How to Find Coolant Lines in a Mini Fridge Before Drilling so you do not accidentally puncture a pressurized Freon pipe and instantly destroy the appliance.
3. The Golden Rules: Temperature & Humidity
Dry aging is not just leaving meat in a fridge; it is a highly controlled, scientific decay process. The naturally occurring enzymes inside the beef (specifically calpains and cathepsins) act like microscopic scissors, slowly snipping away at the rigid collagen and muscle fibers. If your climate is off by just a few degrees, you will grow dangerous, toxic mold instead of tenderizing the meat.
The Target Temperature: 34°F to 38°F (1°C to 3°C)
- Too Warm (Above 40°F): This is the absolute danger zone. At 40 degrees and above, harmful pathogens, spoilage bacteria (like salmonella and E. coli), and black mold will rapidly multiply, rotting the meat and making it highly toxic to consume.
- Too Cold (Below 32°F): The moisture inside the meat will literally freeze into ice crystals. This stops the enzymatic breakdown process entirely, meaning the meat will not age, will not develop complex flavors, and will not tenderize.
The Target Humidity: 75% to 85%
- Too High (Above 85%): If the fridge is too humid, the surface of the meat will stay wet. Wet meat encourages sticky, fuzzy, and dangerous bad mold growth instead of the good, chalky white Penicillium mold that adds flavor.
- Too Low (Below 70%): If the fridge is too dry, you risk “case hardening.” The outer crust will dry out too fast and turn into a hard shell, sealing the remaining moisture inside the meat. This prevents the interior from aging properly and ruins the concentration of flavor.
Pro Tip for Humidity Control: If your humidity drops below 70%, place a small, clean kitchen sponge soaked in a bowl of distilled water at the bottom of the fridge. If the humidity gets too high, add a plastic container of coarse rock salt or baking soda to actively absorb the excess moisture.
4. Step-by-Step Setup Guide
Ready to build your curing chamber? Follow this workflow to ensure your first batch is safe, sanitary, and successful.
Step 1: Sanitize Everything
Unplug the fridge and rigorously scrub the entire interior, including the plastic walls, the wire racks, and especially the rubber door seals, with a heavy-duty antibacterial cleaner or a diluted bleach solution. You must kill any existing mildew spores. Rinse thoroughly with clean water and let it air dry completely.
Step 2: Install Your Hardware
Place your stainless steel wire racks securely in the center. Position your small circulation fan at the bottom or back of the fridge, pointing slightly upward to create a continuous, gentle vortex of air around the entire cavity. Place your digital thermometer probe near the center rack where the meat will sit.
Step 3: Dial in the Climate (The Test Run)
Plug the fridge in and turn it on. Do not put meat in yet. Let the empty fridge run for at least 48 to 72 hours. Monitor your app to ensure the compressor can reliably hold a steady 36°F without massive, erratic swings. Adjust the thermostat dial until the baseline temperature is perfect.
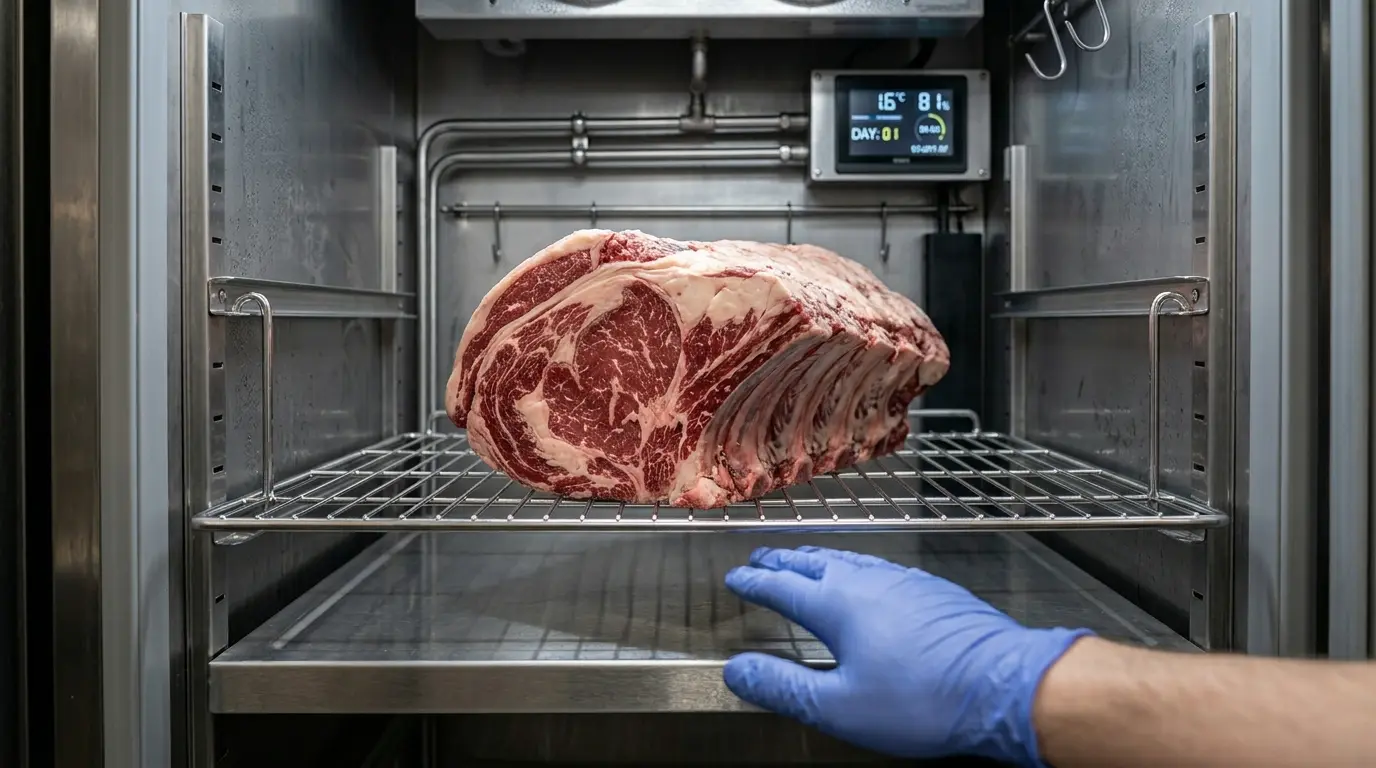
Step 4: Add the Beef (The “Sub-Primal” Rule)
Buy a large, whole, untrimmed sub-primal cut from your butcher (like a whole 12-15 lb bone-in ribeye roast or a massive NY striploin).
Do not try to dry age individual, pre-cut steaks!
Why? During the aging process, the outside of the meat turns into a hard, dark, leathery crust (the pellicle). Before cooking, you have to trim off and throw away the outer half-inch of this crust. If you age an individual 1-inch steak, you will have to trim the whole thing away, leaving you with nothing to eat. Place the large roast on the wire rack, ensuring it does not touch the back wall, the door, or the sides of the fridge.
Step 5: Wait Patiently
Close the door and leave it alone. The absolute minimum time required for a noticeable flavor change and tenderization is 28 days. However, 45 days is generally considered the “sweet spot” for that classic, intensely funky, high-end steakhouse flavor. Once finished, take the roast out, trim the hard pellicle off all sides, slice it into individual thick steaks, and reverse-sear them to medium-rare perfection.
Explore the Refrigerator Hub
Don’t stop here! Dive deeper into appliance mechanics and discover the best setups tailored for DIY culinary projects, home brewing, and kitchen upgrades.
FAQ: DIY Dry Aging at Home
2026 Guide: Safety, Mechanics & Perfect Curing Environments
Culinary Tip: A dedicated dry aging fridge is crucial because raw beef requires strict humidity control (around 80%) to develop deep, nutty flavors without spoiling!
