
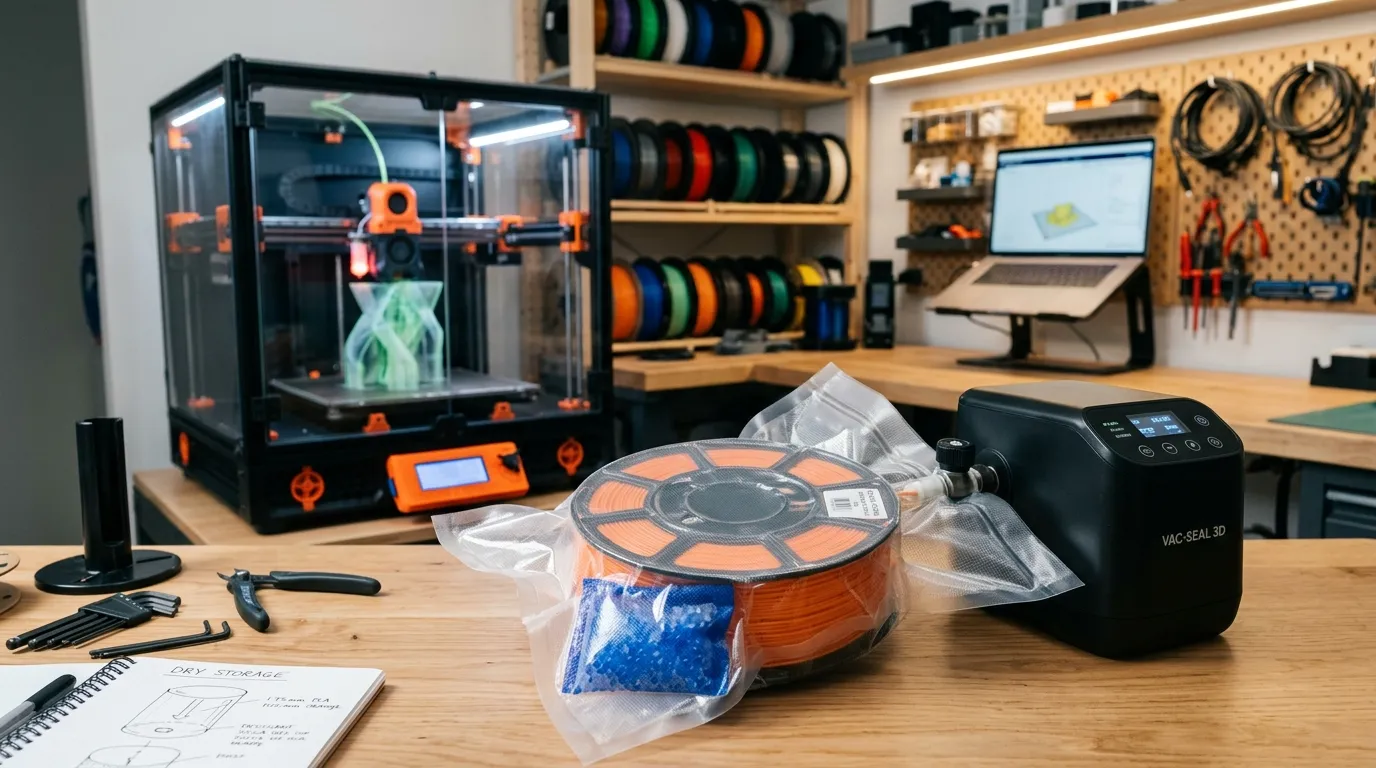
The Best Vacuum Bags for 3D Printer Filament That Actually Hold a Seal (2026)
You know the exact, heartbreaking moment: you load up a highly complex, 48-hour model in your slicer, hit print on a gorgeous spool of Silk PLA, PETG, or TPU that has been sitting on your workshop shelf for a month, and walk away confidently. An hour later, you come back to check on the first layer, only to find a complete nightmare of stringing, severe oozing, brittle layers snapping, and extreme bed adhesion failure. If you listen closely to the hotend as it extrudes, you can hear a faint popping and hissing sound—the unmistakable sound of water rapidly turning to steam.
Let’s be incredibly clear: moisture is public enemy number one in the 3D printing community. Hygroscopic materials act like absolute sponges, aggressively pulling ambient humidity directly out of the air. The standard DIY solution is to put them in generic vacuum travel bags. But let’s be honest: most cheap vacuum bags are incredibly frustrating. You manually pump them down, put them on the shelf, and three days later, the bag has completely inflated, exposing your expensive $30 filament spool to the humid garage air again. If you are tired of wasting time re-drying filament and throwing away bags that inevitably leak, you need a high-quality, double-zipped kit paired with an active electric pump. Let’s break down the ultimate storage setup for keeping your spools bone-dry so they print flawlessly every single time.
📊 Quick Overview: Top Filament Vacuum Kits
Before you waste money on flimsy clothing storage bags, here is how the top specialized electric pump kits stack up specifically for 3D printing spools.
| Feature | AMOLEN 28PCS Kit | Wander Ridge 20PCS Kit |
|---|---|---|
| Total Bags Included | 16 Bags (14 standard, 2 oversized) | 20 Bags (Uniform 13×15 inches) |
| Pump Type | Automatic Electric Pump (USB) | Automatic Electric Pump (USB) |
| Included Desiccant | 8 Packets | 20 Packets (1-to-1 ratio) |
| Material Strength | 0.09mm Thickened PE+PA | Heavy-Duty Reusable PE+PA |
| Best For | Makers with multiple spool sizes | Standardizing a large 1kg collection |
I. The Physics of Hydrolysis: Why Generic Bags Fail
If you are currently debating whether you should just buy cheap clothing vacuum bags or use a massive hard-plastic tub, you have to understand the specific engineering required to store raw plastic polymers. For a massive breakdown on the pros and cons of hard tubs versus soft bags, read our foundational guide: Dry Box vs. Vacuum Bags: The Ultimate 3D Filament Storage Debate.
The Micro-Puncture Problem
Why do your generic vacuum bags always inflate after 48 hours? Standard travel bags are made of incredibly thin plastic designed for soft clothes. When you pull a heavy vacuum over a 3D printing spool, the bag is violently stretched across the sharp plastic rim of the spool, and more dangerously, the sharp, clipped tip of the filament itself. This instantly creates invisible micro-punctures. Air slowly seeps back in, completely ruining your humidity barrier. You absolutely must buy thickened PE+PA composite bags designed specifically to resist puncturing.
Hydrolysis in the Hotend
When materials like Nylon, TPU, or PETG absorb atmospheric moisture, water molecules bond to the polymer chains. When that wet filament hits your 220°C hotend, the water instantly boils into expanding steam. This chemical process (hydrolysis) actually breaks the polymer chains, significantly weakening the mechanical strength of your printed parts and causing that chaotic, spider-web stringing across your build plate.

1. AMOLEN 28PCS Storage Set with Automatic Pump
Forget the cheap manual hand pumps that leave your hands cramping while still failing to pull a tight vacuum. The AMOLEN 28PCS Kit is currently dominating the 3D printing space because it solves the “leaky bag” problem through sheer material quality and motorized convenience.
Why this kit actually holds a seal:
- 0.09mm Thickened PE+PA Material: AMOLEN uses a highly durable, thickened food-grade composite that actively resists puncturing from sharp filament tips and remains structurally flexible over years of repeated use.
- The Double-Seal Zipper: This is where most standard bags fail. AMOLEN utilizes a heavy-duty double zipper system with a single-side embossed texture. Once you slide the included yellow sealing clip across it, the air is physically locked out.
- The Automatic Electric Pump: Instead of manually pumping until your wrist hurts, you place the electric pump over the circular blue valve and let it do the work. It aggressively drains the air in under 30 seconds, pulling the bag drum-tight around the spool like a second skin.
- Two Bag Sizes: The kit includes 14 standard bags (11.8×13.4 inches, perfect for standard 1kg spools) and 2 oversized bags (12.6×17.7 inches, large enough to fit massive 3kg spools or two 1kg spools simultaneously).
This kit is the absolute gold standard for mixed collections. If you are deeply curious how this specific brand stacks up against the other major giant in the 3D space, read our brutal head-to-head comparison: eSun eVacuum Kit Pro Review for 3D Filament Storage.
👉 Best for: Makers with massive collections, varying spool sizes, and those tired of manual hand pumps.
 Check Current Price on AMOLEN

2. Wander Ridge 20PCS Storage Kit
If your filament rack is completely overflowing with standard 1kg spools and you desperately need to get them all sealed quickly and affordably, the Wander Ridge Kit is an absolute powerhouse of value and consistency for standard desktop users.
Why it stands out:
- Uniform Sizing: Instead of mixing bag sizes that you may not need, you get exactly 20 identical 13×15 inch bags. This slightly oversized dimension is incredibly forgiving, allowing you to easily slide in standard 1kg spools without violently fighting the plastic and risking a seam tear.
- 1-to-1 Desiccant Ratio: Unlike competing kits that skimp heavily on accessories, Wander Ridge gives you exactly 20 desiccants to match your 20 bags. This ensures every single spool gets immediate, baseline moisture protection right out of the box.
- Tidy Workspace: Compressing 20 spools with the included automatic electric pump dramatically reduces their footprint on your shelf, allowing you to organize your maker space highly efficiently without worrying about dust or humidity degradation.
💡 Tool Hack: If you are wondering whether you can skip these proprietary bags and just use the standard kitchen sealer you already own to permanently weld your spools shut, read our compatibility breakdown: Can You Use a Kitchen Vacuum Sealer for 3D Printer Filament?
👉 Best for: Standardizing a large 1kg collection, budget-conscious makers, and high-volume PLA/PETG hoarders.

3. The Mandatory Upsell: Wisesorb Indicating Silica Gel
Here is the absolute golden rule of 3D printing storage: A vacuum bag removes the air, but it does not remove the moisture that is already trapped deep inside the cardboard spool or the plastic itself.
If you vacuum seal a spool of TPU without a heavy-duty desiccant, that trapped moisture will remain inside the bag and still ruin the plastic over time. The tiny packets included in basic vacuum kits are a great start, but serious makers utilizing engineering-grade materials need bulk, indicating silica gel.
Why the Wisesorb 8LBS Bulk Jug is essential:
- Color-Changing Indicator: These beads start as a vibrant blue. As they actively absorb moisture inside your vacuum bag (between 20% and 50% humidity), they slowly turn pink. You never have to blindly guess if they are still working; you can look right through the clear vacuum bag and visually confirm the color.
- 100% Rechargeable: When they turn pink, you do not throw them away. You simply pour them onto a baking sheet and put them in the oven at 200°F to 250°F for a few hours (or microwave them on low). The intense heat drives the moisture out, they turn blue again, and they are ready to be reused infinitely.
- Bulk Value: Printing is an addiction, and you will eventually have dozens of spools. Buying an 8 LBS jug allows you to scoop a generous handful of beads into small, custom 3D-printed mesh containers or organza bags to drop directly into the center hole of every single spool you own.
👉 Best for: Everyone. Do not seal a bag without throwing a heavy dose of silica gel in first.
The 3-Minute Maker’s Guide to Perfect Seals
Before you start wildly bagging up your entire collection, keep these three mandatory safety rules in mind to avoid destroying your filament or popping the seals.
1. Secure the Filament Tip
This is the #1 reason bags fail. The end of a 1.75mm plastic filament is basically a sharp needle. When the vacuum pump sucks the bag tight against the spool, that tiny needle will instantly pierce a microscopic hole through the plastic. Always bend the tip of the filament back on itself and tuck it securely into the spool holes, or use a tiny piece of painter’s tape to tape the tip flat against the rim.
2. The Tape Hack for Valves
If you find that your bags are slowly reinflating over the course of a week, the issue is almost always the blue circular extraction valve. After you finish pumping the air out with the electric pump, firmly press your thumb flat against the valve to ensure the silicone flap is seated. For extreme long-term storage (6+ months), place a small square of clear packing tape directly over the blue valve to completely neutralize any micro-leaks.
3. Vacuum Bags DO NOT Dry Filament
A vacuum bag only preserves the current state of the filament. If you leave a spool of Nylon out in a humid garage for three days, sealing it in a bag will not magically remove the water already trapped inside the polymer chains. You must aggressively bake it in a dedicated filament dryer first, then transfer it immediately into the vacuum bag with fresh silica gel.

